So how to wet shave is a timeless, classic method for achieving a clean and close shave. It requires an extra bit of effort—but that effort pays off in the form of a smoother, closer shave every time.
Unfortunately, this type of shaving isn’t exactly intuitive, which means there’s a learning curve to master before you can reap its rewards.
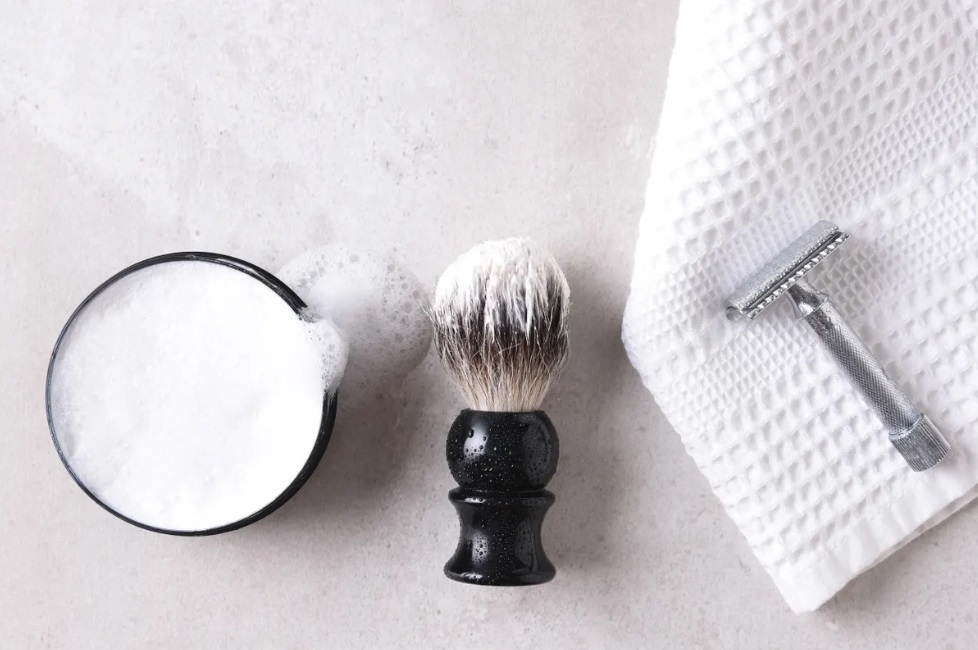
But never fear! With this guide for beginners, you’ll have all the information you need to wet-shave like a pro in no time. From properly prepping your skin to mastering the perfect angle and pressure for your razor—we’ll cover it all.
So grab your razor, lather up, and get ready to enter the world of the wet shaving journey: we’re here to provide you with all the tips, tricks, and techniques you need!
Wet shaving vs. dry shaving
Are you sick of dry shaving, and ready to step up your shaving game? Traditional wet shaving is the way to go!
The difference between dry and wet is simple—wet shaving works with the help of hot water. You use a pre-shave cream, a shave brush, and a double or single-edge razor to create a rich lather that provides superior protection against nicks and cuts while allowing you to work up a close shave in fewer passes.
When it’s done correctly and with the right tools, shaving can give you an incredibly smooth shave and significantly reduce razor burn.
From optimizing your blade angle to having the right materials, shaving requires more attention —but it’s worth it!

Make sure you have everything you require (a pre-shave oil, shave cream or soap, badger brush, multi-blade razor, or safety razor), prepare your face with warm water, and let the smoother skin be your reward!
Gather the necessary supplies
If you’re new to a wet shave, you’ll want to make sure you have all the necessary supplies before getting started. The list may vary slightly depending on the tools and products you choose, but there are a few essentials that you’ll need.
To get the closest and safest shave possible, here’s what you’ll need:
- A good-quality razor – choose one with a handle that feels comfortable in your hand and a blade or blades that are sharp enough to do the job, even disposable razors will do if it is sharp enough.
- A sharp shaving blade – if you’re using a safety razor, invest in high-quality blades for optimal results.
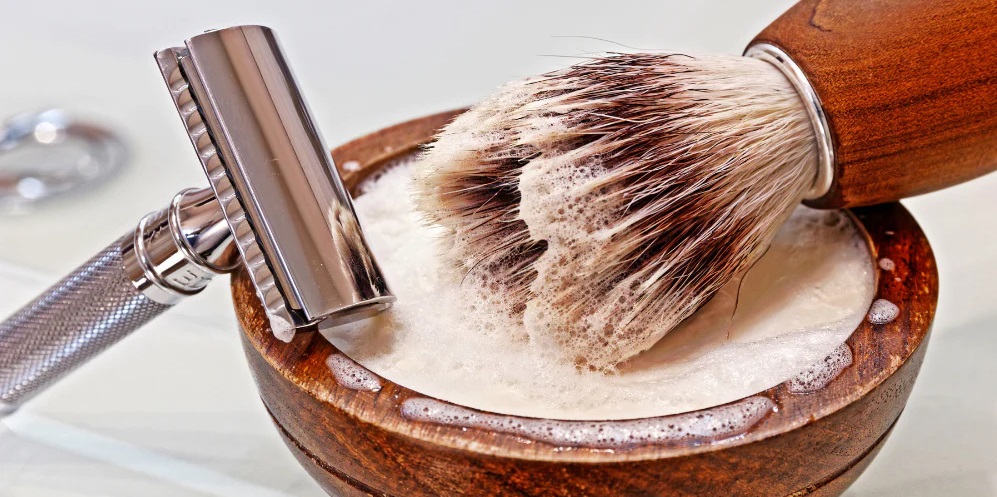
- Shaving cream or soap, shaving bowl – whether you go for soap or cream, look for one with a rich lather. You’re trying to create a good lather that will let the razor glide against your skin, rather than drag. The right one should moisturize your skin while providing enough lubrication to help the blade glide smoothly across your skin.
- Pre-shave oil – pre-shave oil isn’t essential but a few drops can help soften the hair follicles before shaving and make for a more comfortable experience.
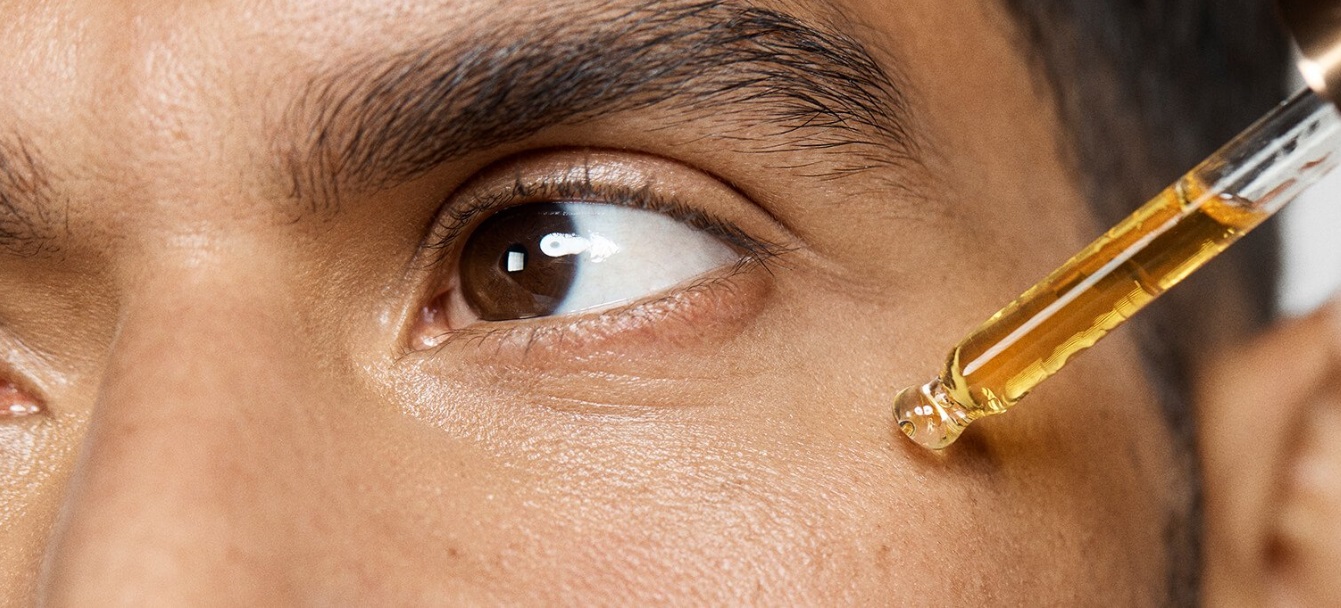
By having all of these supplies ready to go before beginning, you’ll be able to make sure your wet shave is as safe and smooth as possible.
Shaving tools – a guide to the essentials
Now, let’s get into the tools of the trade. Shaving requires some specific supplies and tools, so here’s what you’ll need to get started:
- A brush and shaving cream
You’ll want to invest in a good-quality shaving brush. A badger hair brush is ideal as it holds a lot of lather and helps raise the hair for a closer cut.
As for the shaving cream, pick one that best suits your skin type—sensitive skin needs something creamy and non-irritating like an aftershave balm or oil, while tougher facial hair might require something with grapeseed oil or menthol for lubrication and to soften it up. Do not apply firm pressure to your face, let the weight of the razor glide along your skin.
- A razor
You can go with disposable razors, or double edge blades or razors, or opt for something that uses replaceable blades. Whatever you choose, make sure it fits comfortably in your hand and isn’t too heavy or bulky. Many men find that doing multiple passes with a safety razor or straight razor and applying cream between the passes is ideal.
- Aftershave products
Wet shaving can cause shaving rash, so investing in some quality aftershave balm is essential. It keeps the skin moisturized while also soothing any nicks or cuts you may have gotten during the process.
You may also want to consider using a few drops of aftershave toner, which helps reduce redness and closes up pores—this should be applied afterward as it’s alcohol-based which can dry out skin if used too soon after shaving.
Safety razors
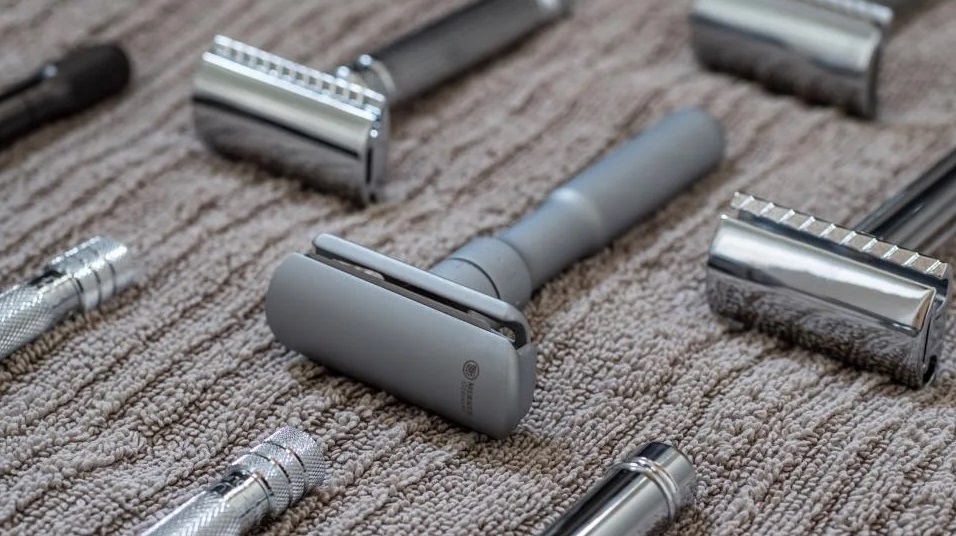
Now that you have all the supplies, it’s time to talk about safety razors. When it comes to shaving, they’re the star of the show. Let’s go over their features:
- They have a single, fixed blade, and come with a built-in guard to help avoid any nicks.
- You can change out the blades when you’re done, making them more hygienic and cost-effective since you don’t need to replace the whole handle after each use.
- The blades of a safety razor are also sharper than an electric razor, so you’ll likely get a closer shave.
To get started, you’ll want to make sure your skin is thoroughly wet to soften it up for a better shave—just press your hand against your face for about 10 seconds. Then, apply lather or cream on top with a brush in small circles to lift facial hair and prevent irritation from multiple passes with the razor.
When ready, start shaving in one direction going with the grain of your hair, and make shorter strokes meaning as close as possible without cutting yourself! Once complete, rinse off any remaining lather or cream and pat dry your skin using a towel.
Cartridge razors
Shaving has come a long way, and now you’re able to choose from all kinds of razors: cartridge razors, safety razors, straight razors, and electric razors.
If you want to give shaving a go but are a bit unsure about using a straight razor, or if you’re new to the world of shaving, then the cartridge razor is for you. Cartridge razors are designed for comfort and convenience, making them perfect for beginners.
It typically comes with several blades lined up in a row, and it’s super easy to use because there’s no real technique involved — these types of razors allow the blades to be evenly distributed across your face while they adjust to every contour. This also means that your chance of accidentally cutting yourself is greatly reduced.

How to use a cartridge razor:
- When wet shaving, make sure your beard is nice and wet before you start — wetting helps create additional lubrication so that your skin isn’t irritated as much when shaving.
- Next, lather up your face with shaving cream or gel so that it provides an additional layer between your skin and the blades.
- Pick up your cartridge razor and start from one side of your face, working around in smooth strokes towards the other side. Make sure that you don’t apply too much pressure — let the weight of the razor do all the work for you!
- Rinse off afterward to get rid of any remaining hairs or cream residue on your face, then pat dry with a towel or cloth before applying your favorite aftershave product!
Safety razor vs. cartridge razor
So, you’ve decided to take the plunge and are ready to wet shave. The next step is deciding which type of razor you’re going to use. Generally, there are two types of razors: a safety razor and a cartridge razor.
The decision between a safety razor and a cartridge razor boils down to personal preference; however, there are some key differences between the two that may help you decide.
- Safety razor
A safety razor is a classic manual shaving tool, with a single-edged blade mounted on an adjustable headpiece. However, the blades on a safety razor tend to be cheaper than cartridge blades, meaning that it can be a more cost-effective option in the long run if you maintain it properly.
- Cartridge razor
A cartridge razor has multiple blades in each head, which allows for closer shaving and less time spent shaving per session, as fewer passes over your skin are usually required with fewer chances of irritation too.
The downside of this type of shaving is that the heads generally need replacing more frequently than those of safety razors as they have multiple blades, making them more expensive over time if not cared for properly.

Prepare your skin: exfoliate and soften
Before you start shaving, your skin needs some TLC (Tender Loving Care). Exfoliating and softening help prepare the hair and skin for a perfect shave.
- Exfoliating your skin
It’s important to exfoliate before you shave—it helps remove dead skin cells, dirt, and oils that might block your razor and can cause irritation or ingrown hairs. For best results, use a facial scrub once or twice a week. You can buy specifically made scrubs, but if you want something more natural, honey, and sugar make the perfect combo for exfoliating dead skin.
- Softening your hair: lathering up
To get the smoothest shave possible, you’ll want to soften those tough facial hairs with a good lather. The best way to do this is by using shaving cream or gel with warm water to create some lather and soften the hair before the razor meets the skin—just don’t forget your shaving brush!

How to wet shave: assemble your shaving brush and razor
Now it’s time to get everything ready. Hopefully, you already have a shaving brush and razor that you can use. If not, make sure to choose carefully, as the quality of your tools will affect how good your shave is.
- Shaving brush
Your shaving brush should be made of natural bristles—usually badger hair—because this will give you a better lather and feel smoother on the skin.
- Razor
The best razors for shaving are typically double-edged safety razors, as they give you more control over where you shave.
Lather up using shaving creams or shaving soaps
Now that you’ve prepped your skin and chosen the right razor for your needs, it’s time to get lathering. If you’re just starting, we recommend using either shaving cream or soap—both can be used easily and help create a great lather.
Shaving cream is better if you have particularly sensitive skin because it is specifically designed to create a thick lather and protect your skin while you shave. You can use a brush or your hands—whichever you prefer.
If you’re looking for something more natural, consider traditional shaving soap, which requires a bit more technique. With this kind of shaving soap, you’ll need a brush so that you can whip up a lather in its shaving bowl—the lathering process should take about 20-30 seconds and will create a dense foam-like consistency which is the perfect thickness for shaving.
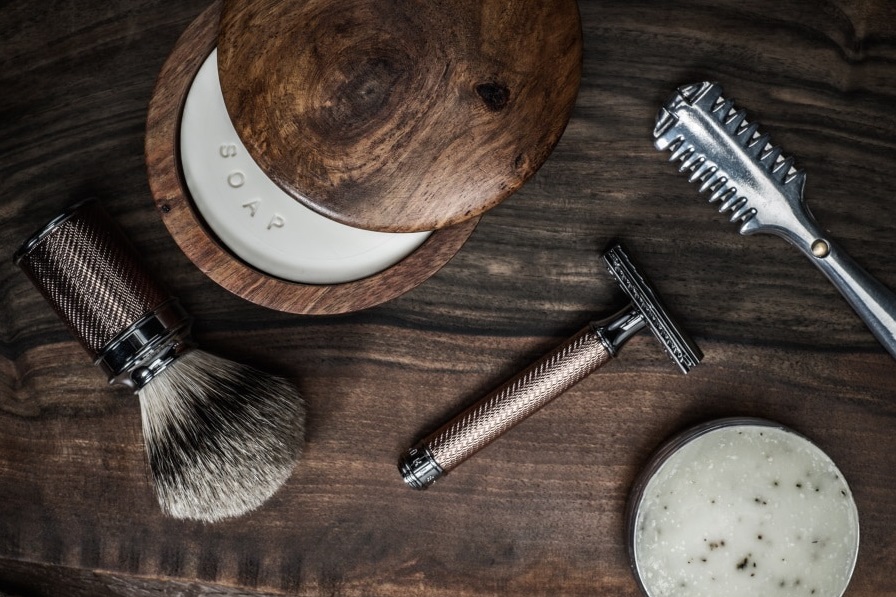
Soaking your brush in hot water before beginning will help create an even creamy lather as well as aid in softening the bristles of the brush. Use circular motions to work it into your face, like with shaving cream, until it’s evenly distributed throughout.
Whichever kind of product you choose, let the lather sit on your face for at least one minute before starting to shave; this will ensure that your hair is softened and ready for the razor blade.
How to wet shave: shave with the grain using short strokes
Now that you’ve got your shave cream on, it’s time to start shaving! Remember, traditional wet shaving is all about taking your time and doing things the right way. The key here is to always shave with the grain of your hair and to use short strokes in the same direction of hair growth.
Shaving with grain instead of against means that you’re going against the natural direction of hair growth, which helps prevent ingrown hairs, a razor burn, and other sensitive skin irritations that can come from more aggressive shaving.
The short strokes are important too; they help reduce any tugging or pulling at the hairs, so you don’t end up with a razor burn. When done right, shaving should almost feel like a massage rather than a chore!
So take it slow and steady—shave for about two or three minutes, using short strokes in small sections. Always be sure to rinse off your razor occasionally, so it doesn’t get clogged with shaving cream.
Post-shave care: rinse, moisturize, and clean up
The last step in shaving is to rinse off your face with cold water. This helps close the pores and remove any remaining residue or soap. After that, pat your skin dry with a clean towel and apply a moisturizer to help keep your skin hydrated.
Lastly, it’s time to clean up. First, rinse off the blade with warm water, so you don’t cut yourself while cleaning it; then place it in a cleaning solution and wipe the brush off with a cloth. Your razor should be properly stored in a dry place when not in use (you can imagine that is post-shave care for a razor).

Remember that wet shaving and post-shave care can be quite an enjoyable experience if done right! Just take your time and ensure that you follow all of these steps; when done correctly, wet shaving can provide a close shave while protecting sensitive skin from irritation.
Conclusion
Wet shaving is a great way to get a close, comfortable shave without the risk of irritation and razor burn. If you’re looking for a way to upgrade your grooming routine, wet shaving is a great way to do it.
To recap, wet shaving is a time-tested grooming ritual that requires patience and skill, but when done properly, can give you a close, comfortable shave every time.
Be sure to take your time and use good quality razors and shaving creams to ensure the best results. With a few simple steps and some practice, you’ll be wet shaving like a pro in no time.
If you want to learn more on how to wet shave, please follow the link.
FAQ
Is it better to shave wet or dry?
Dry shaving has a lower percentage of cuts and dents. Electric shavers do not touch the skin in any way and therefore do not cut them. With wet hair shaving, however, it may require some practice and focus so as not to damage it.
Is it good to shave while wet?
It is important to lower friction on the face when using the dry shave kit. New skin can grow over the hair, leading to ingrown hairs. If there is less irritation, it will mean that wet facial skin will be easier to clean, and it’s easier for a shaver.

